
Office 365 email encryption
It still surprises me how few know that Office 365 includes a full-fledged email encryption solution, Office Message Encryption (OME). A “new OME”, built on top of Azure Information Protection, has been available for some time now. In this blog, I’ll tell you how to setup and customise the new OME.
Configuration
First, you need to install the Azure AD Rights Management (AADRM) PowerShell Module.
Module installation requires PowerShell 5 or later which is included in Windows 10 & Server 2016. If you have previous version of Windows, you need to install Windows Management Framework 5.1 here.
Install-Module AADRMNext, save your admin credentials to a variable for later use.
$cred = Get-CredentialNow you’re ready to start the configuration. First, we connect to AADRM to fetch the licensing url needed for OME.
# Connect to the AADRM

Connect-AadrmService -Credential $cred

# Activate AADRM

Enable-Aadrm

# Get the licensing url from AADRM configuration

$LicensingLocation = (Get-AadrmConfiguration).LicensingIntranetDistributionPointUrl

# Disconnect AADRM

Disconnect-AadrmService
The second step is to configure your Exchange Online to use Azure Information Protection.
# Connect to Exchange Online

$session = New-PSSession -ConfigurationName Microsoft.Exchange -ConnectionUri https://outlook.office365.com/powershell-liveid/ -Credential $cred -Authentication Basic -AllowRedirection
Import-PSSession $session

# Add the licensing location

Set-IRMConfiguration -LicensingLocation @{add=$LicensingLocation}

# Enable OME for both external and internal recipients

Set-IRMConfiguration -AzureRMSLicensingEnabled $true -InternalLicensingEnabled $true

# Enable a Protect button in OWA

Set-IRMConfiguration -SimplifiedClientAccessEnabled $true

# Enable OME for OWA and ActiveSync clients

Set-IRMConfiguration -ClientAccessServerEnabled $true
Now the OME is ready to use! You can either use the Protect -button to encrypt individual messages or transport rules.
The following PowerShell command creates a transport rule to apply OME to messages sent to outside your organisation with high priority and enables it.
# Create and enable transport rule

New-TransportRule -Name "Apply OME for external recipients" -ApplyRightsProtectionTemplate "Encrypt" -WithImportance High -SentToScope NotInOrganization -Mode Enforce -Enabled $true
Tweaking
Disable one-time-password
By default, OME allows recipients to decrypt messages using Microsoft and Google identities. This means that the recipient must use login using the same identity (i.e. email address) the message was sent to.
There is also an option to use a one-time-password (OTP), which sents an OTP in a separate email to the same address than the original email. Some people, including me, think that the OTP actually breaks the whole idea of the message encryption. Luckily, this can be easily disabled!
# Disable OTP

Set-OMEConfiguration -Identity "OME Configuration" -OTPEnabled $false
Branding
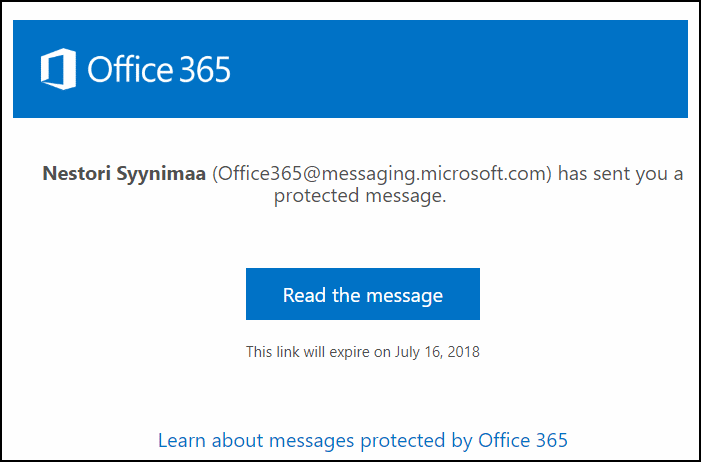
By default, the encrypted email looks like seen at the top of the page.
This can be easily changed to match your organization branding.
First, lets change the logo. Supported file formats are .png, .jpg, .bmp, and .tiff. The optimal size of the file is less than 40kb and size of image 170x70.
# Change OME logo

Set-OMEConfiguration -Identity "OME Configuration" -Image (Get-Content "mylogo.png" –Encoding byte)
Now, set the background colour. The following sets the background to orange used in this blog site.
# Set the background to orange

Set-OMEConfiguration -Identity "OME Configuration" -BackgroundColor "#e64946"
You can also change the default texts used in encrypted emails.
# Set message text

Set-OMEConfiguration -Identity "OME Configuration" -EmailText "Encrypted message from Office 365 blog."
After these modifications, our OME messages looks like this:

Should you like to remove the modifications, just set the text and background to empty string “” and $null for the logo.
Finally
Now that you have setup and configured your OME remember to disconnect from Exchange Online.
# Disconnect Exchange Online

Remove-PSSession $session